

There is no doubt that buying a particular product is easy but taking care of it is a difficult task. You can take an example of a helmet, when you buy it from any online platform then it will be provided to you with full coverage.
First of all, you must know the steps of unboxing the order and then adjusting it according to your head size. Then, after some time there comes a need to change the lens of the helmet. But the problem is that lots of people don’t know how to change the lens of a tactical bump helmet. Given article is all about adjusting the helmet and then changing its lens.
Ways to Change the Lens Of the Helmet
Helmets are instruments or gadgets which are commonly used in different fields. But the problem that appears while using an old helmet is that its lens gets damaged or dirty and the person can’t see out of it. The following steps are used to change the lens at home without the guidance of a professional.
Step 1: Remove Screws
First, take a small size screwdriver and remove all the screws present on both sides of the helmet. After removing it, you will see rail adapter holders on each of its sides.
Step 2: Remove Lens Fixers
Open the buckle which is fixed on the helmet. So that you can remove the lens-fixing inserts.
Step 3: Remove Old Lens
In the next step, remove the accessories used to cover your forehead. Now remove the main thing which is the lens of a helmet.
Step 4: Insert New Lens
Now take the lens that you have to choose for your helmet and fix it gently on the helmet. Now you repeat the process you do to open your helmet. Now, you will see a brand-new helmet present in front of you.
Correct Way To Wear A Helmet
You can follow the given steps to wear and adjust a full face tactical helmet once you receive it from the market or any online platform like Powtegic:
Step 1: Removing The Mask
Take a look at the helmet you will see the guide rail adapter holder connection button and also the mask in the front area of it.
Step 2: Adjusting Strap
Now, you have to adjust the strap length according to your face length. When you adjust it, fixed the straps so it will not open as soon as you remove it.
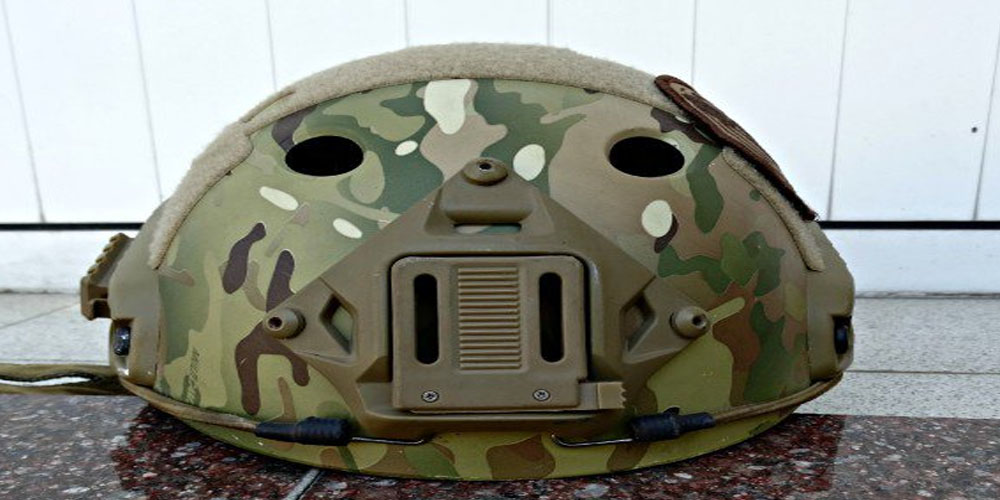
Step 3: Adjust The head
On the back side of the helmet, you will see the head adjustment circumference. Adjust it according to your head shape.
Step 4: Add Rail Adapters
Now in the last step, add the rail adapters on each side of the helmet. Now you will see the helmet according to your head size.
Summary
In our daily life, some people bought helmets to protect themselves but they didn’t know how to wear them. Many people wear it without adjustment which makes them uncomfortable. Also after long use, their lens has to be changed. If you don’t the procedure then you can have complete guidance from the above article in this regard.


